Whether you're a DIY enthusiast looking to refresh a living room or a professional tradesperson tackling an extensive renovation project, nothing transforms a space quite like a fresh coat of paint. From stunning feature walls to tranquil tones in a bedroom, the right painting technique can elevate a room from tired to timeless. But to get that flawless finish, it's critical to follow a series of proven steps—especially in the often unpredictable climate of the United Kingdom. Here's our comprehensive guide to the 10 tips you need for a PERFECT paint job.
1. Proper Preparation is Non-Negotiable
One of the biggest mistakes both amateurs and even some professional painters make is underestimating the importance of surface preparation. Paint adheres best to clean, dry, and smooth surfaces. Begin by removing any old, flaking paint using a scraper or wire brush. Use sandpaper to smooth the surface, paying extra attention to edges and corners.
Don’t forget to wash the walls. Dust, grease, and even invisible residues can affect how well paint sticks. A simple sugar soap solution works wonders here—it's available in most UK home improvement stores.
If you're planning to paint over a high-gloss or oil-based surface, a light sanding followed by an appropriate primer is essential. This ensures the new paint bonds properly and minimises peeling or bubbling later on.
Cover any holes or imperfections with filler and allow them to dry completely. Once dry, sand smooth and prime if necessary. Taking the time to prep thoroughly guarantees a more durable and professional-looking finish.
2. Invest in Quality Tools and Materials
Using subpar brushes or rollers won't just result in streaks or lint in your finish—they’ll slow you down and cost more in the long run. Pick high-quality, synthetic brushes for water-based paints and natural bristle brushes for oil-based types.
Rollers should be chosen based on the texture of the surface. For smooth walls, a short-nap roller is ideal, while a medium- to long-nap roller works best for textured surfaces like Artex.
Don’t forget accessories like masking tape (choose painter’s tape that won’t pull off your fresh coat), dust sheets, extension poles for ceilings and high walls, and a robust ladder.
Paint quality also matters. More expensive doesn’t always mean better, but reputable UK brands like Dulux, Crown, and Farrow & Ball have ranges that deliver excellent coverage and pigmentation.
3. Choose the Right Paint for the Room
Different rooms require different paint finishes. A flat matte finish hides imperfections but isn’t easy to clean, making it ideal for bedrooms and ceilings. In contrast, satin or silk finishes are easier to wipe down, making them perfect for kitchens, bathrooms and hallways.
For high-moisture environments like bathrooms and utility spaces, opt for specially formulated moisture-resistant or anti-mould paint. Likewise, if you’re painting kitchens, consider a grease-resistant formulation to tackle food splatters.
If environmental impact is a concern for you or your clients, water-based paints with low VOC (Volatile Organic Compounds) are widely available and better for indoor air quality.
Always consider the light in the room. Natural daylight changes how paint colours appear throughout the day. Try testers in different areas of the wall and observe how they react to morning, afternoon, and evening lighting before committing.
4. Prime It Right
Priming isn't optional—especially if you're painting over a dark colour, fresh plaster, or a surface with stains. A primer creates a uniform surface for your paint to adhere to, improves durability, and enhances colour richness.
For new or bare plaster, a mist coat (a watered-down emulsion) often does the trick. This helps seal the plaster and avoid blotchy finishes. Use about three parts paint to one part water for water-based emulsions.
On glossy or previously painted surfaces, consider a bonding primer to ensure proper adhesion.
Don’t forget to let the primer dry thoroughly before applying the topcoat—rushing this step can lead to poor finish and peeling over time.
5. Mind the British Weather
Our unpredictable UK weather can affect indoor painting jobs more than you might assume. While rain won't hit your lounge walls directly, humidity can still play havoc with your drying times and paint finish.
Try to paint on dry days when the indoor humidity is low and temperatures range between 10°C and 25°C. If it’s too cold, the paint might not dry properly; too hot, and it may dry too fast, leading to cracking or uneven finish.
Ventilation is key—keep windows open or consider using a fan to maintain air flow, especially if you’re using solvent-based paint which has a stronger odour and needs longer curing time.
If painting exterior surfaces, always check the forecast for at least 24 hours of dry weather to allow the paint to set properly.
6. Use the “Cutting In” Technique
“Cutting in” refers to painting the edges manually with a brush before using a roller on larger surfaces. This creates a cleaner line and prevents overlapping marks that can occur if a roller is applied too close to edges.
Start by using an angled sash brush and slowly move the brush along ceilings, skirting, corners and around fixtures like radiators, sockets, or light switches. Try to maintain a wet edge by overlapping your roller work slightly with your cut-in areas before they’ve dried.
This method takes a bit more time and precision but makes a huge difference in the professional quality of your finish.
For improved consistency, consider using a paint shield but be careful not to smudge the paint underneath by dragging it across a wet patch.
7. Apply Thin, Even Coats
Don’t try to get full coverage in one go. It’s far better to apply two or three thin coats rather than one gloopy one that takes too long to dry and is prone to drips, roller marks or sagging.
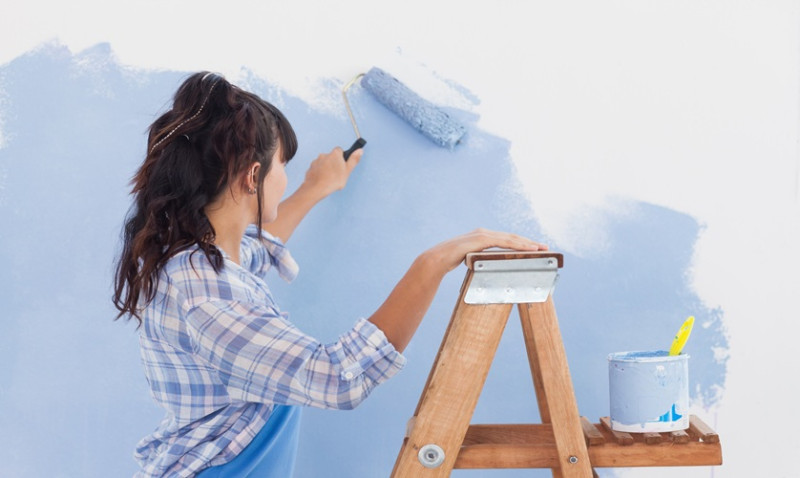
When using a roller, apply paint in a ‘W’ or ‘M’ motion and then fill it in without lifting the roller from the wall—this ensures more even distribution and fewer overlap lines.
Wait the recommended drying time between coats—rushing leads to uneven colours and a poor finish. Most modern emulsion paints suggest a 2–4 hour wait before recoating, but always double-check your specific brand.
If you’re going from very dark to light colours, you might need up to three coats for complete coverage. Yes, it takes longer—but the result is worth it.
8. Don’t Forget the Details
The little finishing touches often distinguish amateur from professional paint jobs. Whether it's the edge where the wall meets the ceiling or the trim around a window frame, neatness matters.
Use fine painter's tape to mask off trims and remove it while the paint is still slightly wet to avoid peeling or leaving a ridge. For intricate areas, a small angled brush will give you better control.
Be cautious around switches, sockets, and fittings—take the time to unscrew them if safe to do so, then paint around the edge before replacing. It looks cleaner and more professional than painting around them.
Keep a small detail brush on hand for touch-ups at the end. You’ll be shocked how many small patches and drips are easier to fix when caught early.
9. Clean Up Properly
Cleaning up is not only respectful to your space (or your client's), but it also prolongs the life of your tools. Wash brushes and rollers immediately after use, especially if you’re using water-based paints.
Solvent-based paints will require white spirit or turpentine for proper cleaning—always ensure you work in ventilated spaces and dispose of any solvent waste responsibly.
Store leftover paint properly. Seal tightly and label clearly—this helps with future touch-ups and ensures colours are matched properly.
Never pour paint down the drain. Check with your local council for paint disposal sites or drop-off centres—many UK locations offer safe, environmentally friendly disposal options.
10. Allow Proper Curing Time
The paint may be dry to the touch within a few hours, but full curing—when the paint reaches its maximum hardness—can take several days or even weeks depending on the product and room environment. During this time, avoid cleaning freshly painted walls or placing heavy furniture directly against them.
For example, a high-traffic hallway painted with satin emulsion might need 7–14 days to fully cure and resist scuffs effectively. Don't be tempted to use harsh cleaning products; a damp cloth with water is sufficient during this period.
If you're decorating before moving in, plan accordingly so walls have time to breathe and set before installing shelves, artwork or televisions.
Remember: good painting is as much about the aftercare as the application. Treat your new walls with a little TLC and you’ll enjoy a flawless finish for years to come.
Ready to Get Rolling?
Whether you're updating a single room or giving a commercial space a design makeover, following these ten tips can make all the difference to your results. Preparation, patience, and the right tools aren’t just for professionals—they’re part of what makes a truly perfect paint job.
Looking for the best tools and materials for your next decorating project? Check out our curated painting supplies for UK professionals and keen DIYers on our shop page.
Happy painting!


